
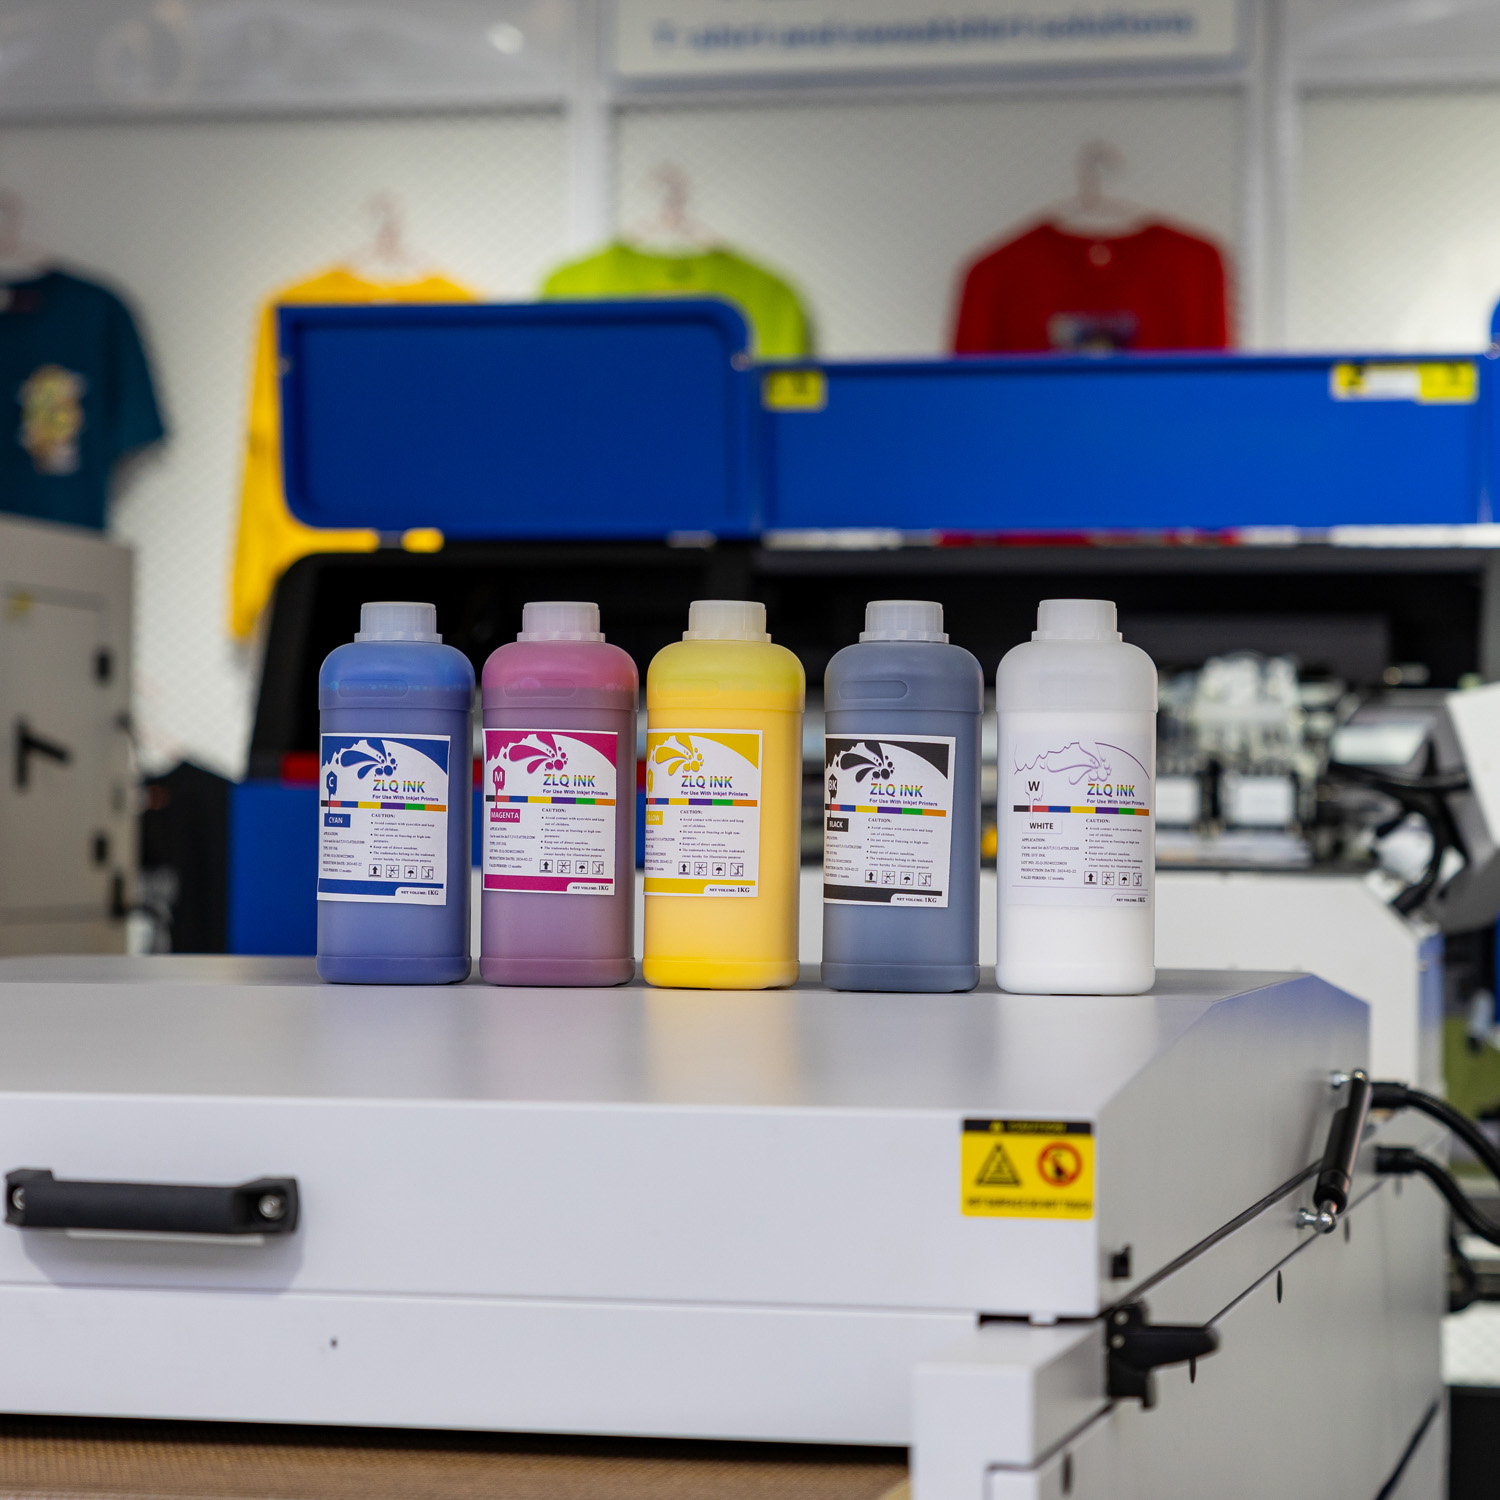
The following are some usage tips for DTF (Direct - to - Film) ink: ### I. Ink Storage 1. **Temperature Control** - DTF ink should be stored in an appropriate temperature environment. The ideal storage temperature is generally between 15 - 30°C. If the temperature is too low, the viscosity of the ink may increase, affecting its fluidity and potentially leading to nozzle clogging during printing. For example, in an environment below 10°C, the ink may become viscous, making it difficult for the nozzle to eject the ink properly. - When the temperature is too high (exceeding 35°C), chemical changes may occur in the ink, resulting in unstable performance, which will affect the printing quality and the shelf life of the ink.
 2. **Avoid Direct Sunlight**
- The ink should be placed in a location away from direct sunlight. The ultraviolet rays in sunlight can cause the decomposition or chemical reactions of certain components of the ink, leading to ink deterioration. Ink that is exposed to sunlight for a long time may experience problems such as faded color and decreased adhesion after printing.
- It is best to store the ink in a dark cabinet or a specialized ink storage box to ensure it is not exposed to direct sunlight.
3. **Sealed Storage**
- When the ink is not in use, make sure the ink container is well - sealed. If the ink is in contact with air for a long time, it may absorb moisture from the air, resulting in ink dilution or contamination, which will further affect the printing effect. For example, if the ink absorbs too much moisture, bleeding may occur during printing, making the edges of the pattern blurry.
### II. Pre - printing Preparation
1. **Equipment Pre - heating**
- Before starting to print, it is necessary to pre - heat the printer using DTF ink. The pre - heating time varies depending on the printer model, usually around 5 - 15 minutes.
- Pre - heating can bring the printer nozzle to an appropriate working temperature, ensuring that the ink maintains good fluidity within the nozzle, making the printing process smoother and reducing the probability of nozzle clogging and ink breakage.
2. **Nozzle Cleaning and Calibration**
- Regularly cleaning the nozzle is the key to ensuring printing quality. Use a specialized nozzle cleaning solution and follow the instructions in the printer's operation manual for cleaning. It is generally recommended to clean the nozzle after printing a certain number of patterns (such as every 50 - 100 prints) or when a decrease in printing quality is noticed (such as unclear lines or uneven colors).
- At the same time, the nozzle should be calibrated to ensure that the nozzle can accurately eject ink onto the specified position during printing. Nozzle calibration can be done through the printer's built - in calibration program, which usually requires printing test patterns and making adjustments based on the test results.
### III. Operations during Printing
1. **Printing Speed Selection**
- Select an appropriate printing speed according to the characteristics of the ink and the type of printing material. Generally, when using DTF ink to print on relatively rough transfer films, the speed should not be too fast. If the printing speed is too fast, the ink may not adhere well to the film, resulting in ink splashing or incomplete patterns.
- For high - quality printing tasks, a slower printing speed is usually chosen, such as around 2 - 4 square meters per hour. This allows the ink to penetrate and adhere better, achieving clearer and more detailed printing results.
2. **Ink Layer Thickness Control**
- Reasonably control the thickness of the ink layer. Different patterns and application scenarios have different requirements for the thickness of the ink layer. The ink ejection amount can be adjusted through the printer's software settings to control the thickness of the ink layer.
- For example, when printing patterns with a three - dimensional effect, a thicker ink layer may be required. However, an overly thick ink layer may lead to a long drying time and even ink adhesion problems during the transfer process. Therefore, multiple tests need to be carried out according to the actual situation to find the optimal ink layer thickness.
### IV. Post - printing Treatment
1. **Ink Drying Treatment**
- After printing is completed, ensure that the ink on the transfer film is fully dried. The drying method can be natural drying or using specialized drying equipment according to the actual situation. If natural drying is adopted, the printed film should be placed in a well - ventilated, dry, and clean environment. The drying time may take 1 - 2 hours or even longer, depending on the amount of ink used and the environmental conditions.
- Using drying equipment (such as a hot - air blower, drying oven, etc.) can accelerate the ink - drying process, but attention should be paid to controlling the temperature and wind speed to avoid ink surface cracking due to excessive temperature or uneven ink distribution due to excessive wind speed. Generally, setting the temperature of the hot - air blower at 30 - 50°C is appropriate.
2. **Transfer Operation**
- When performing the transfer operation after the ink is dry, ensure that the temperature, pressure, and time settings of the transfer equipment (such as a heat - transfer machine) are correct. Different transfer materials and ink types have different requirements for transfer parameters.
- For example, when transferring a pattern from a film onto fabric, the general transfer temperature is between 150 - 200°C, the pressure is around 3 - 5 kg/cm², and the transfer time is between 10 - 30 seconds. Correct transfer parameters can ensure that the ink adheres firmly to the fabric, achieving a high - quality transfer effect.
2. **Avoid Direct Sunlight**
- The ink should be placed in a location away from direct sunlight. The ultraviolet rays in sunlight can cause the decomposition or chemical reactions of certain components of the ink, leading to ink deterioration. Ink that is exposed to sunlight for a long time may experience problems such as faded color and decreased adhesion after printing.
- It is best to store the ink in a dark cabinet or a specialized ink storage box to ensure it is not exposed to direct sunlight.
3. **Sealed Storage**
- When the ink is not in use, make sure the ink container is well - sealed. If the ink is in contact with air for a long time, it may absorb moisture from the air, resulting in ink dilution or contamination, which will further affect the printing effect. For example, if the ink absorbs too much moisture, bleeding may occur during printing, making the edges of the pattern blurry.
### II. Pre - printing Preparation
1. **Equipment Pre - heating**
- Before starting to print, it is necessary to pre - heat the printer using DTF ink. The pre - heating time varies depending on the printer model, usually around 5 - 15 minutes.
- Pre - heating can bring the printer nozzle to an appropriate working temperature, ensuring that the ink maintains good fluidity within the nozzle, making the printing process smoother and reducing the probability of nozzle clogging and ink breakage.
2. **Nozzle Cleaning and Calibration**
- Regularly cleaning the nozzle is the key to ensuring printing quality. Use a specialized nozzle cleaning solution and follow the instructions in the printer's operation manual for cleaning. It is generally recommended to clean the nozzle after printing a certain number of patterns (such as every 50 - 100 prints) or when a decrease in printing quality is noticed (such as unclear lines or uneven colors).
- At the same time, the nozzle should be calibrated to ensure that the nozzle can accurately eject ink onto the specified position during printing. Nozzle calibration can be done through the printer's built - in calibration program, which usually requires printing test patterns and making adjustments based on the test results.
### III. Operations during Printing
1. **Printing Speed Selection**
- Select an appropriate printing speed according to the characteristics of the ink and the type of printing material. Generally, when using DTF ink to print on relatively rough transfer films, the speed should not be too fast. If the printing speed is too fast, the ink may not adhere well to the film, resulting in ink splashing or incomplete patterns.
- For high - quality printing tasks, a slower printing speed is usually chosen, such as around 2 - 4 square meters per hour. This allows the ink to penetrate and adhere better, achieving clearer and more detailed printing results.
2. **Ink Layer Thickness Control**
- Reasonably control the thickness of the ink layer. Different patterns and application scenarios have different requirements for the thickness of the ink layer. The ink ejection amount can be adjusted through the printer's software settings to control the thickness of the ink layer.
- For example, when printing patterns with a three - dimensional effect, a thicker ink layer may be required. However, an overly thick ink layer may lead to a long drying time and even ink adhesion problems during the transfer process. Therefore, multiple tests need to be carried out according to the actual situation to find the optimal ink layer thickness.
### IV. Post - printing Treatment
1. **Ink Drying Treatment**
- After printing is completed, ensure that the ink on the transfer film is fully dried. The drying method can be natural drying or using specialized drying equipment according to the actual situation. If natural drying is adopted, the printed film should be placed in a well - ventilated, dry, and clean environment. The drying time may take 1 - 2 hours or even longer, depending on the amount of ink used and the environmental conditions.
- Using drying equipment (such as a hot - air blower, drying oven, etc.) can accelerate the ink - drying process, but attention should be paid to controlling the temperature and wind speed to avoid ink surface cracking due to excessive temperature or uneven ink distribution due to excessive wind speed. Generally, setting the temperature of the hot - air blower at 30 - 50°C is appropriate.
2. **Transfer Operation**
- When performing the transfer operation after the ink is dry, ensure that the temperature, pressure, and time settings of the transfer equipment (such as a heat - transfer machine) are correct. Different transfer materials and ink types have different requirements for transfer parameters.
- For example, when transferring a pattern from a film onto fabric, the general transfer temperature is between 150 - 200°C, the pressure is around 3 - 5 kg/cm², and the transfer time is between 10 - 30 seconds. Correct transfer parameters can ensure that the ink adheres firmly to the fabric, achieving a high - quality transfer effect.
Related Products