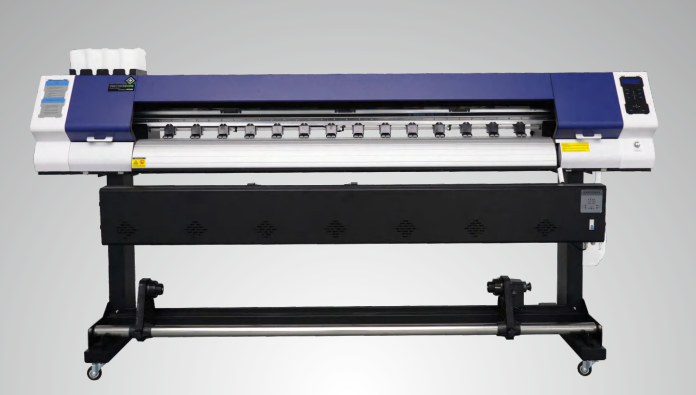
The following are the steps to correctly use cleaning fluid to clean the printer nozzle:
I. Preparation
1. Choose the right cleaning fluid: According to the type of printer nozzle, select a high-quality cleaning fluid that is compatible with it. Make sure the cleaning fluid is within the validity period and is not contaminated.
2. Prepare tools: clean syringe (without needle), soft brush, dust-free cloth or cotton swab, etc.
II. Printer Settings
1. Turn off the printer power and unplug the power cord to ensure safe operation.
2. Move the printer nozzle to a position that is easy to clean. For specific methods, please refer to the printer manual.
III. Cleaning process
1. Soaking method:
• For nozzles that are more severely clogged, the soaking method can be used. Use a syringe to extract an appropriate amount of cleaning fluid and inject it into a shallow container so that the nozzle is partially immersed in the cleaning fluid. Pay attention to the appropriate immersion depth and do not let the cleaning fluid contact parts other than the nozzle.
• The soaking time generally ranges from 15 minutes to several hours. The specific time can be determined according to the degree of blockage and the instructions of the cleaning fluid. During the soaking process, you can gently shake the container to make the cleaning liquid work better on the nozzle.
2. Flushing method:
• For nozzles that are not seriously clogged, you can use a syringe to extract the cleaning liquid, and then gently insert the thin tube of the syringe into the ink inlet of the nozzle.
• Slowly inject the cleaning liquid and let the cleaning liquid flow out from the nozzle of the nozzle. This can flush out the blockage in the nozzle. Note that the injection pressure should be moderate, not too high, so as not to damage the nozzle.
3. Wiping method:
• Dip a small amount of cleaning liquid with a clean cotton swab or dust-free cloth and gently wipe the surface of the nozzle. When wiping, follow the direction of the nozzle and avoid wiping horizontally to avoid damaging the nozzle.
• For some stubborn stains, you can wipe it a little harder, but be careful not to scratch the nozzle.
IV. Post-cleaning treatment
1. Drying:
• After cleaning, use a clean dust-free cloth or paper towel to gently absorb the cleaning liquid on the surface of the nozzle. Then place the nozzle in a well-ventilated place and let it dry naturally.
• Make sure the nozzle is completely dry before installing it back into the printer.
2. Test:
• After installing the nozzle, turn on the printer and perform a test print. Observe whether the print quality returns to normal. If there is still a problem, you can repeat the cleaning steps or seek help from professional maintenance personnel.
V. Precautions
1. Be gentle: During the cleaning process, whether it is soaking, rinsing or wiping, be gentle to avoid mechanical damage to the nozzle.
2. Avoid cross contamination: Keep the tools used clean to avoid cross contamination of different colors of ink or different types of cleaning fluids.
3. Follow the instructions: Strictly follow the printer manual and the instructions for use of the cleaning fluid, and do not try unproven cleaning methods at will.
4. Safety first: Cleaning fluids are generally volatile and irritating. Keep good ventilation during operation and avoid contact with skin and eyes. If accidentally contacted, rinse with clean water immediately and seek medical help.